 EN
EN  EST
EST RU
RU
December 22, 2021
19 view(s)
Be warned that making a wreath of spruce branches is not for sensitive hands. The needles may prick and the resin hardens, and it takes a bit to twist the wire on the handle.
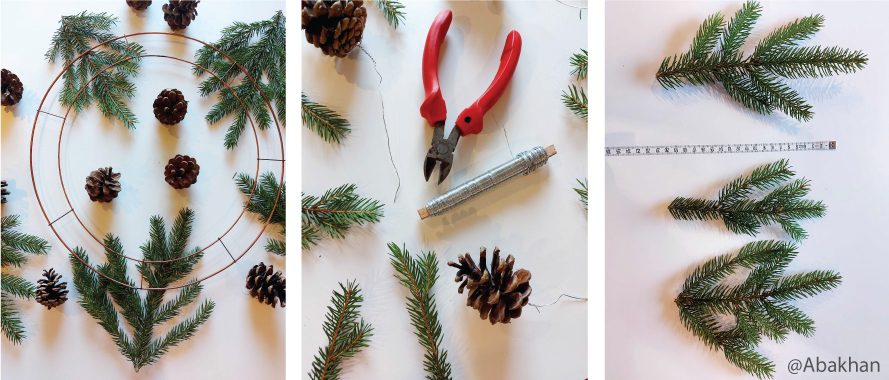
Materials and tools:
- Wire base frame
- Binding wire and cutting pliers
- Spruce twigs and pruning shears
- Cones
Workflow:
- Get everything you need
- A wire frame of suitable size from Abakhan. The ring used for this Christmas wreath is 41 cm in diameter.
- An appropriately flexible binding wire with a diameter of 0.65 mm from a building materials or tools store.
- Beware of spruce resin! Cover the working surface with old newspapers or something else. Wear disposable clothing.
- First, prepare the cones. Wrap the wire as invisibly as possible, i.e. around the back of the pine cone between the scales, and secure with a few twists. The “tail” of the cone could be approximately 19-25 cm in order to have the length to be attached.
- Cut the spruce branches more or less to one length. 18-22 cm is an appropriate length. One store-sized plastic bag of spruce is required for this wreath.
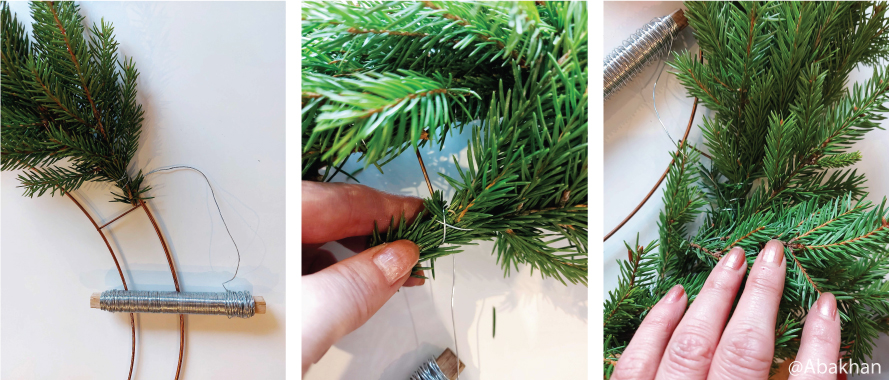
- Start working from the outer circle. Fasten the end of the wire to the ring with a few circles, and start twisting on the frame in a two-by-two huddle of the spruce branches. A couple of circles should hold the bundle firmly. Make sure that the twigs are secured with sufficient strength. Each next pair must surely cover the previous attachement point. Stack the bundles on top of each other in just the right number of steps for the amount of fluff you want and the amount of material you have.
- Each time you reach a two-ring attachement point, make a cross around the fixing wire. Then the branches won't circle around the round wire.
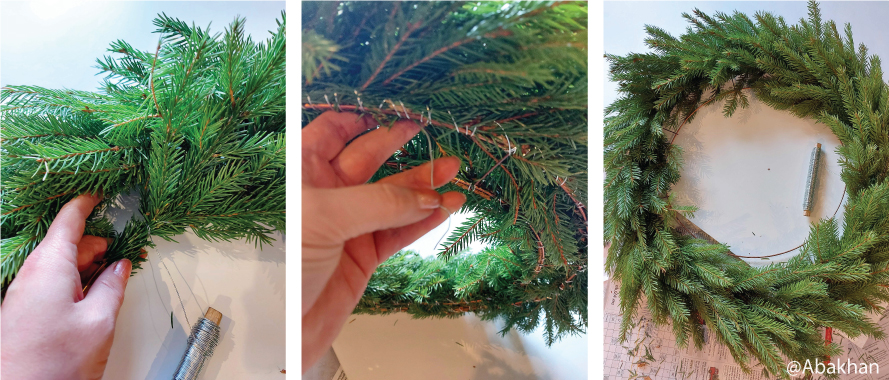
- When finished, fasten the last bundles under the first.
- On the inner circle, fasten the branches in the opposite direction. There is no need to cut the wire when going from one circle to another.
- Finish the circle and hide the end under the branches of the beginning in the same way.
- Put your cones in place. Pierce a hole through the wreath at a suitable point and attach to the base frame. The cones on the end of the well-flexible binding wire can later be adjusted to the right side of the piece.
Some tricks:
- If you pick fresh scallops from the forest, it takes about a week for them to go “fluffy” in a warm place, such as in a box on top of an oven or near a stove. ATTENTION! Fire safety!
- Cones can also be made more vain by spray paint, sparkling crumbs, artificial snow and other means.
- Don't get carried away with twisting the wire. If there is a need to re-use the underframe, the very tightly twisted wire will be difficult to untangle later. The ring in the picture has been in use on various projects for 3 years.
- It might be quite frustrating if the thread gets knotted. But if the wire goes gets knotted, it's quite frustrating. Make sure that the wire does not run off the top of the stick more than necessary.
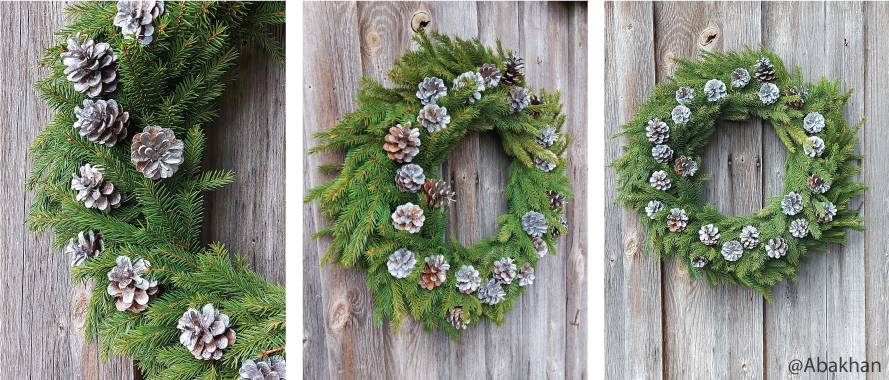
One thing is certain, the only thing that can be wrong with making a Christmas wreath is not making it. By the end of the day, the room is filled with the sweet scent of the spruce, and the door is decorated with a home-made Christmas wreath.
Have a go and enjoy crafting!


